
 Confessions from my middle school lunch box: Little Debbie Swiss Rolls were my fav! And they tasted even better straight from the freezer. Oh how my leanings in consuming preservatives and packaged foods has changed nowadays. This doesn't completely rule out a place for Swiss rolls in my diet. It just means I'd make them myself now...from scratch...if I had a hankering.
Making this Swiss roll was the first time I've ever baked a rolled cake. Well, to be honest, this was my second time baking a rolled cake--the first attempt at this recipe was a crumbly, cracked mess. But the second time around, from those mistakes, I adapted a rolling technique that was much better (or one could argue was obsessive and constantly fidgety). Now I'm all set to put my skills to the test come yule log season or jelly roll craving.
To complete the bombe, two layers of ice cream separated by a layer of fudge lie beneath the cake. I wanted the ice creams to appear as swirled as the Swiss rolls, so I chose to mix in black currant curd to the vanilla-thyme layer and fudge ripple to the dark chocolate layer.
Homemade ice cream was a perfect way to use the 18 egg yolks I had leftover after taking their companion whites to make an exceptionally large batch of buttercream for my friends' wedding cake/cupcakes. Also, this was a great opportunity to try recipes from two of my newest cookbooks: Lola's Ice Creams & Sundaes and Perfect Scoop.
The July 2010 Daring Bakers’ challenge was hosted by Sunita of Sunita’s world – life and food. Sunita challenged everyone to make an ice-cream filled Swiss roll that’s then used to make a bombe with hot fudge. Her recipe is based on an ice cream cake recipe from Taste of Home.
Swiss Roll Ice Cream Bombe
 Vanilla-Thyme Ice Cream Swirled with Black Currant Curd
 from Lola's Ice Creams & Sundaes
1 vanilla pod
fresh thyme sprigs, tied in a bundle
750 ml whole milk
450 ml whipping cream
12 egg yolks
240 g sugar
Put the milk and cream in a large sauce pan. Halve the vanilla pod and scrape out the seeds. Add both the pod and the seeds and the thyme to the milk and cream. Heat to just below boiling. Cover, take off heat and set aside to steep. After 20 minutes of steeping, remove the vanilla pod and thyme bundle, but do not discard. Re-warm the mixture to just below boiling again.
Beat the egg yolks with the sugar. Add a third of the warm milk-cream to the egg-sugar mixture, whisking constantly. While continuously stirring, return this custard mix to the pan with the rest of the milk-cream. Slowly heat the custard stirring constantly until the temperature reaches 80° C. Maintain this temperature for 15 seconds. Do not allow the mix to boil or it will scramble.
Turn off the heat and continue whisking the custard for a few minutes to reduce the heat. Transfer the mixture to a container, add in the reserved thyme and vanilla pod. Chill in the fridge for at least 4 hours or ideally overnight.
Before churning in your ice cream machine, remove the vanilla pod and thyme.

Black Currant Curd
makes about 2 cups
1 pint black currants, rinsed
2 TBS water
½ cup sugar
2 TBS unsalted butter
2 large eggs
1 large egg yolk
Place the black currants and the water in a non-corroding saucepan. Cover and cook on a low-medium heat, stirring occasionally for 20 minutes or until the currants are mushy. Pass the currants through a food mill to produce about 1¼ cups puree. Stir the sugar and butter into the warm puree and heat, stirring constantly. Whisk the eggs and the egg yolk just until mixed, then whisk in a little of the hot currant mixture to heat the eggs. Return to the pan and cook over low heat, stirring constantly, until the mixture is well thickened and has reached 170° F. Pour into a container, cover and chill.
Mixing it in: The curd should be throughly chilled before using. Just before you remove the ice cream from the machine, spoon some on the bottom of the storage container. As you remove the ice cream from the machine, layer generous spoonfuls of the curd between layers of ice cream. Avoid stirring it in as it will make the ice cream muddy looking.
 Deep Dark Chocolate Ice Cream with Fudge Ripple
from Lola's Ice Creams & Sundaes
500 ml whole milk
500 ml whipping cream
40 g cocoa powder
250 g dark chocolate (70% cacao)
3-4 fresh coffee beans (optional)
6 egg yolks
150 g sugar
Heat the milk and cream in a pan to just below boiling, then remove from heat. Make a paste with the cocoa powder by mixing it with a little heated milk and cream. Add the paste to the warm milk-cream and whisk continuously over a very low heat for 4-5 minutes in order to cook out the powdery taste of the cocoa.
Break up the chocolate into small pieces and place it in a bowl set over a pan of simmering water. Stir from time to time until the chocolate melts. Add the melted chocolate and coffee beans to the milk and cream. Stir until everything is combined.
Beat the egg yolks with the sugar. Add the warm milk to the egg-sugar mix and return the mixture to the pan. Heat the custard, stirring constantly, to 80° C. Maintain this temperature for 15 seconds. Do not allow the mix to boil or it will scramble.
Turn off the heat and continue whisking the mix for a few minutes to reduce the temperature.
Transfer the mixture to a container. Chill in the fridge for at least 4 hours or ideally overnight.
Churn in your ice cream machine.

Fudge Ripple
from David Lebovitz's Perfect Scoop
makes 1 cup
100 g sugar
80 ml light corn syrup
125 ml water
50 g cocoa powder
½ tsp vanilla extract
Whisk together the sugar, corn syrup, water and cocoa powder in a medium saucepan. Heat over medium heat, whisking constantly, until the mixture begins to bubble at the edges. Continue to whisk until it just comes to a low boil. Cook for 1 minute, whisking frequently. Remove from the heat, stir in the vanilla, and let cool. Chill in the refrigerator before using.
Mixing it in: The fudge ripple should be throughly chilled before using. Just before you remove the ice cream from the machine, spoon some on the bottom of the storage container. As you remove the ice cream from the machine, layer generous spoonfuls of the sauce between layers of ice cream. Avoid stirring the fudge ripple into the ice cream, as it will make it muddy looking.
 Swiss Rolls
For the cake:
5 large eggs, at room temperature
1 cup (225 grams) sugar, plus extra for rolling
6 TBS (45 grams) all purpose flour
5 TBS (40 grams) cocoa powder
2 TBS (30 ml) boiling water
For the filling:
2 cups (500 mls) whipping cream
1 vanilla pod, cut into ½ cm pieces (or 1 tsp vanilla extract)
5 TBS (70 grams) sugar
Preheat the oven to 400° F. Brush a half sheet pan with a neutral-flavored oil and line with parchment paper.
In a large mixing bowl, add the eggs and sugar and beat until very thick; when the beaters are lifted, they should leave a trail on the surface for at least 10 seconds. Sift together the flour and cocoa powder and gently fold into the egg mixture with a spatula. Then, fold in the boiling water.
Pour the batter into the prepared sheet pan, spreading it evenly into the corners. Place the pan in the center of the oven and bake for about 10-12 minutes or till the cake is springy to the touch.
Spread a kitchen towel on the counter and generously sprinkle it with sugar. Upon removing from the oven, immediately turn the cake onto the towel and peel away the parchment paper. Trim away any crisp edges and generously sprinkle sugar over the cake. Starting from the long edge, roll the cake along with the towel. Be careful not to apply too much pressure, as the cake will crack. Place the wrapped roll on a rack to cool, seam side down. Allow the cake to cool completely, about 30 minutes.
To make the filling, grind together the vanilla pieces and sugar in a coffee bean grinder until throughly mixed together. Skip this step if you are using vanilla extract. Combine the cream and vanilla-sugar mixture in a large bowl and beat until very thick.
When the cake has cooled completely, open the roll and spread the cream mixture evenly, leaving a ½-inch border. Roll the cake up again, this time without the towel. Wrap in plastic wrap and chill in the fridge seam side down until ready to use.
Assembly
 Line the bottom and sides of the bowl in which you are going to set the dessert with plastic wrap, leaving a generous overhang. Cut the Swiss roll into slices approximately 2 cms thick.
Arrange two slices at the bottom of the bowl, with their seam sides facing each other. Arrange the remainder of the Swiss roll slices up the bowl, with the seam sides facing away from the bottom, to cover the sides of the bowl. Cover the bowl with plastic wrap and freeze until the slices are firm (at least 30 minutes). Meanwhile, set the first layer of ice cream out to soften.
When ready to proceed, remove the bowl from the freezer, peel back the plastic wrap cover and spread the ice cream over the cake slices and up the sides of the bowl. Replace the plastic wrap and freeze until firm (at least 1 hour).
Pour the fudge sauce over the frozen ice cream layer, cover with the plastic wrap and freeze until firm (at least 1 hour). Meanwhile, soften the second flavor of ice cream.
When ready to proceed, spread the second layer of ice cream over the fudge sauce. Cover with plastic wrap and freeze for at least 4-5 hours until completely set.
When ready to serve, peel back the plastic cover, and used a serrated knife to level the bottom of the cake so that it is flush with the bowl. Place the serving plate on top of the bowl. Turn it upside down. Carefully lift off the bowl and peel off the plastic lining. If the bowl does not come away easily, wipe the outside of the bowl with a kitchen towel dampened with hot water.
Keep the cake out of the freezer for at least 10 minutes before slicing. Slice with a sharp knife, dipped in hot water.


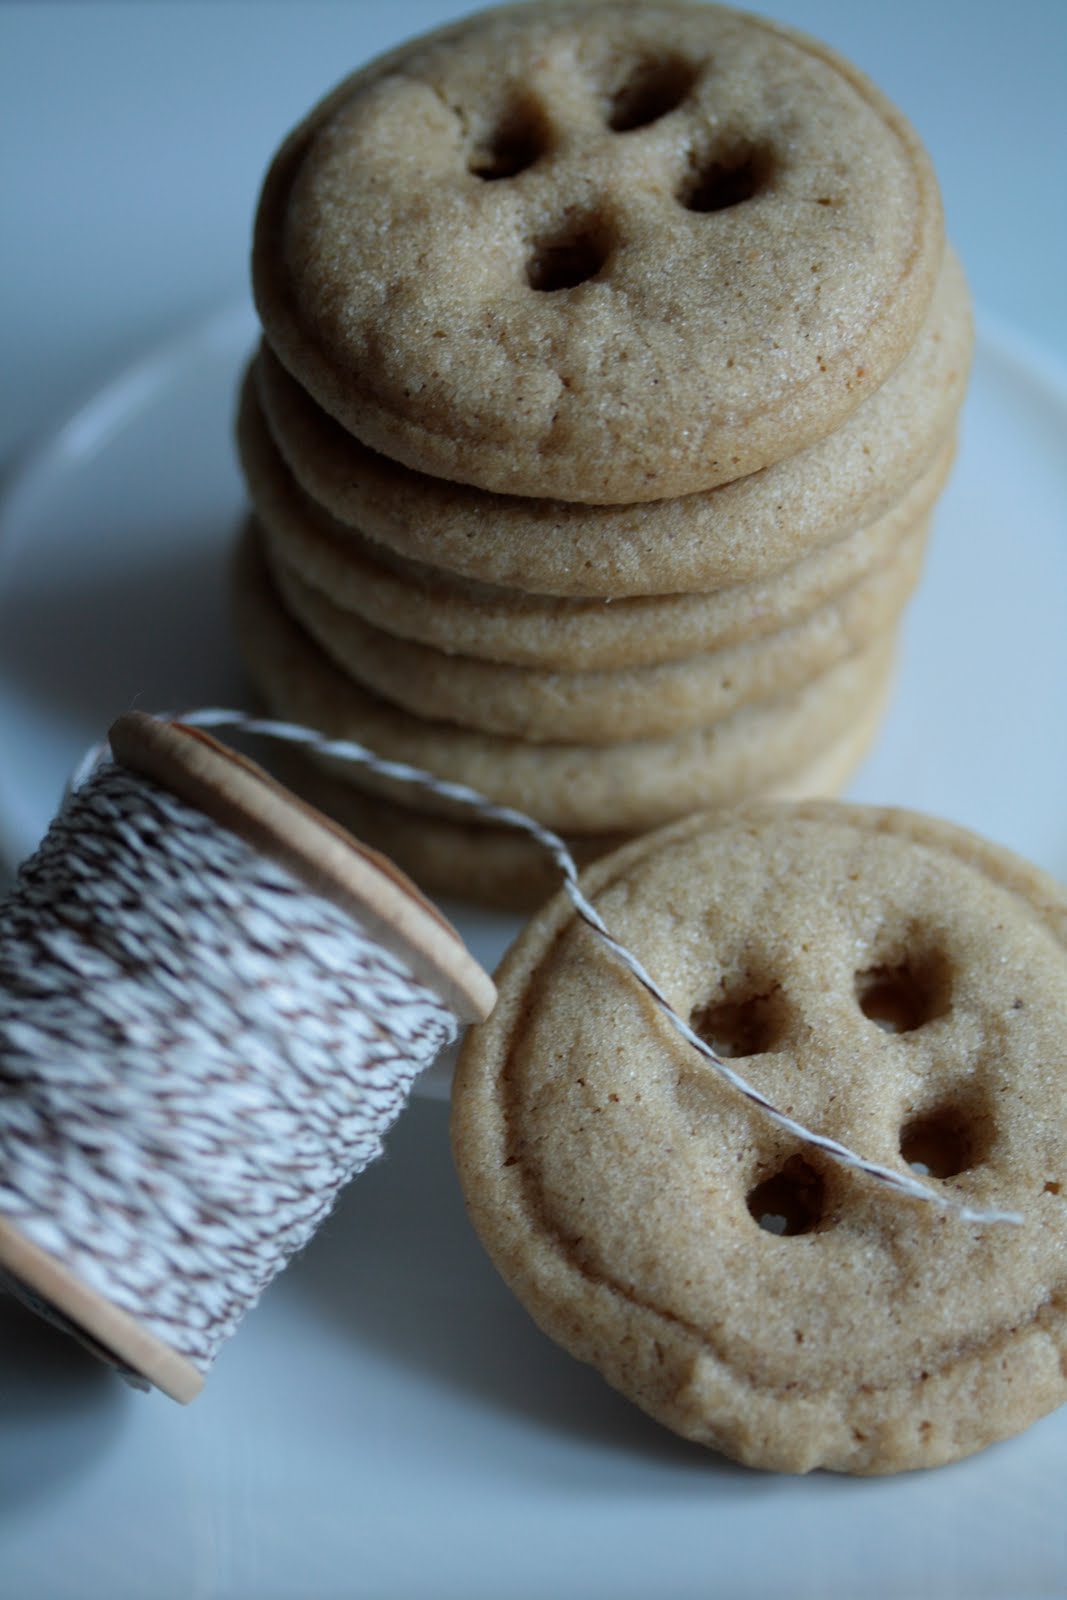
 Hazelnut Buttons
 1 slice country-style white bread